
Welcome back, friend. Don’t you love when you pop into a thrift store and find something that you know would look amazing transformed? I’m not sure what goodies were kept inside this Just Chill box, but it sure has a lot of potential! Learn how to paint a box like this one, and then I’ll show you how to make it even more special with a raised stencil.

When we finished building our new European Country style home, I tried lots of white and off-white paint samples for our front brick – which means I also have a lot of samples leftover. I decided to use Sherwin Williams Shoji White on this thrifted box, which is actually the same color I ended up choosing for our house exterior.

This post contains some affiliate links so you can easily find the products I use and recommend. Discover all my favorite brands and tools for doing DIY makeovers here.
I painted three coats of the latex paint for full coverage with my trusty Purdy paint brush. To paint a box, start with the sides and the top. Once that’s finished, open the box and paint the inside too. Be careful of any drips that run over the sides.
Afterward, I decided to add a stencil – but not just a regular painted stencil, a raised stencil with texture.

I grabbed the spackling and putty knife that I normally use for raised stenciling projects (see how I used it on a table makeover here). Center the stencil where you want it, and apply a thin layer of the spackling over the stencil. Try to get it fairly smooth, but some texture is fine.

I can’t remember exactly where I got this stencil, but you can find similar crown stencils here.
Below you can see how it looked after applying the spackling. Let it dry for at least a couple hours.

Carefully lift a corner of the stencil to make sure the spackling isn’t pulling up. Work slowly to remove the stencil from your project.
Next I lightly tap all over the area with my finger to press the spackling down and smooth it a little more. (Then I washed the stencil really well before it could dry and harden more.)

Then lightly sand over the area with fine grit sandpaper to smooth it more. Since this is a small area, I just blew the sanding dust away.

The spackling is almost the same color as the paint, but I went ahead and brushed a little Shoji White paint over it just so everything looked the same.
Finally, I used my handy paper cutter to easily cut a piece of paper to line the inside of the box. I just laid it inside in case I decide to change it later.

And here is this elegant yet understated Goodwill box all pretty now:

I just love how it looks like a place to store treasured keepsakes now. It’s come a long way from the Just Chill beach vibes it had before!

And there are so many practical uses for a painted box this size. I’m thinking maybe special watches or bracelets.

Here’s a look at the paper lined inside:
 Here’s another look below at the Before and After photos of this project. Please feel free to share this project with a friend or pin it to easily find again later.

Here’s a raised stencil project I painted for my book Amazing Furniture Makeovers. I used white, turquoise, and gold paint and it shimmers so pretty. I call it the Embossed Nightstand:

*This has been one way to paint a box. You might also like this post filled with great upcycled box projects: Hand Painted Jewelry Box Ideas
Now it’s time for Trash to Treasure makeovers with my blogging friends. I’m excited to see what they’ve been working on.

Below are the Before photos – visit the links underneath to see the Afters and to learn how they did it!
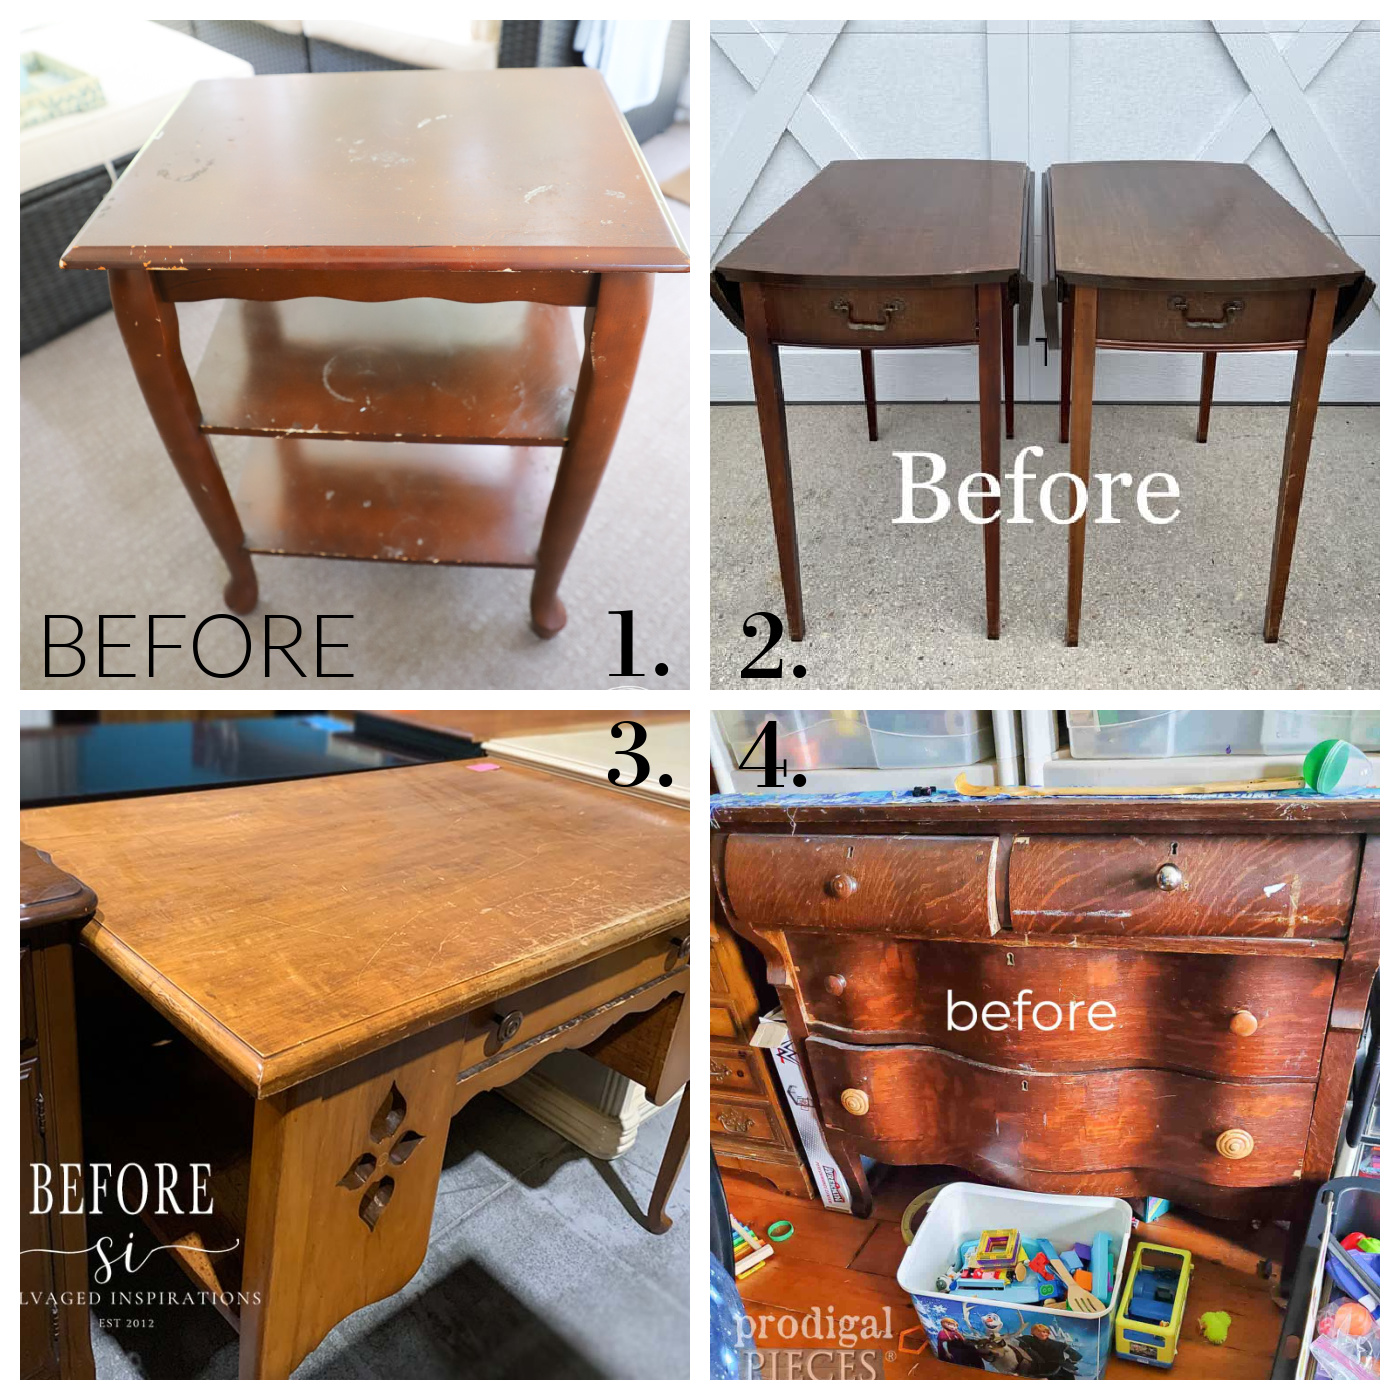 1. Artsy Chicks Rule
2. Confessions of a Serial DIYer
3. Salvaged Inspirations
4. Prodigal Pieces
If you love painted makeover ideas, you’ll find even more creative ideas in my book Amazing Furniture Makeovers: Easy DIY Projects to Transform Thrifted Finds into Beautiful Custom Pieces. Click the image below to learn more.


Larissa ~ Prodigal Pieces says
Simple and sweet, Jen.
Larissa ~ Prodigal Pieces says
Simple and sweet, Jen.
Christy James says
Much better for sure! XOXO
Denise - Salvaged Inspirations says
Super cute Jen!
Ruth M says
Nice! And a great use for those paint samples.
Lizzy says
It’s really pretty. I’ll have to try that technique.
Mary Loveland says
You did a great job on the box especially the inside. I do think that raised stencil needs a little something like a skim coat of colored was???
Nancy @ Artsy Chicks Rule says
So cute, Jen! Raised stencils are so fun! xo