
Hello, friend! I’m back today with a new trash to treasure makeover. This project isn’t exactly trashy but it is thrifty – this wood crate was just $5 in the Target Dollar Spot area. I know I could’ve easily paid that much at Goodwill. Watch how this crate is transformed into a sweet DIY Christmas card holder.

This post contains some affiliate links so you can easily find the products I use and recommend. Discover all my favorite brands and tools for doing DIY makeovers here.
Since this wood crate is already clean and smooth, and I wasn’t planning to paint it a light color, I could skip the prep work (yeay!). Learn all about how to properly prep furniture and decor for painting here in my free guide.
Besides the crate, I only used supplies I already had at home. I found a sample of Valspar paint in Posh Red which I’ve had for ages. After stirring it well, it was still good. And what a great color for Christmas decor! I brushed on two coats using one of my trusty Purdy paintbrushes.

Next, I dug through my stash and found this pack of clearance metal numbers. What luck – there was a #25! (I couldn’t find these exact pieces online anymore, but these numbered tags would also look cute.)

I used thin jute rope to tie the tag on and wrapped it around the crate several times. I also tied on a faux berry sprig (see a glimpse below) – but I forgot to take a photo of that step.

I tied a knot on the back of the crate and cut the ends short.

Add some festive cards, and that’s all the steps for this easy DIY Christmas card holder box. That plain Target crate never looked cuter…

And there is lots of room inside. You could even set a bunch of ornaments in there instead. Lots of possibilities.

What a great coincidence that the red paint and red berries were an exact match.

The white wood tree behind it was a DIY project from a few years ago – see the tutorial here.

Here’s a quick reminder of the before and after. Please share this project with a friend or Pin it to easily find again later.

And now it’s Trash to Treasure time again with my friends. Below are the Before photos. Be sure to visit the links underneath to see the amazing transformations!
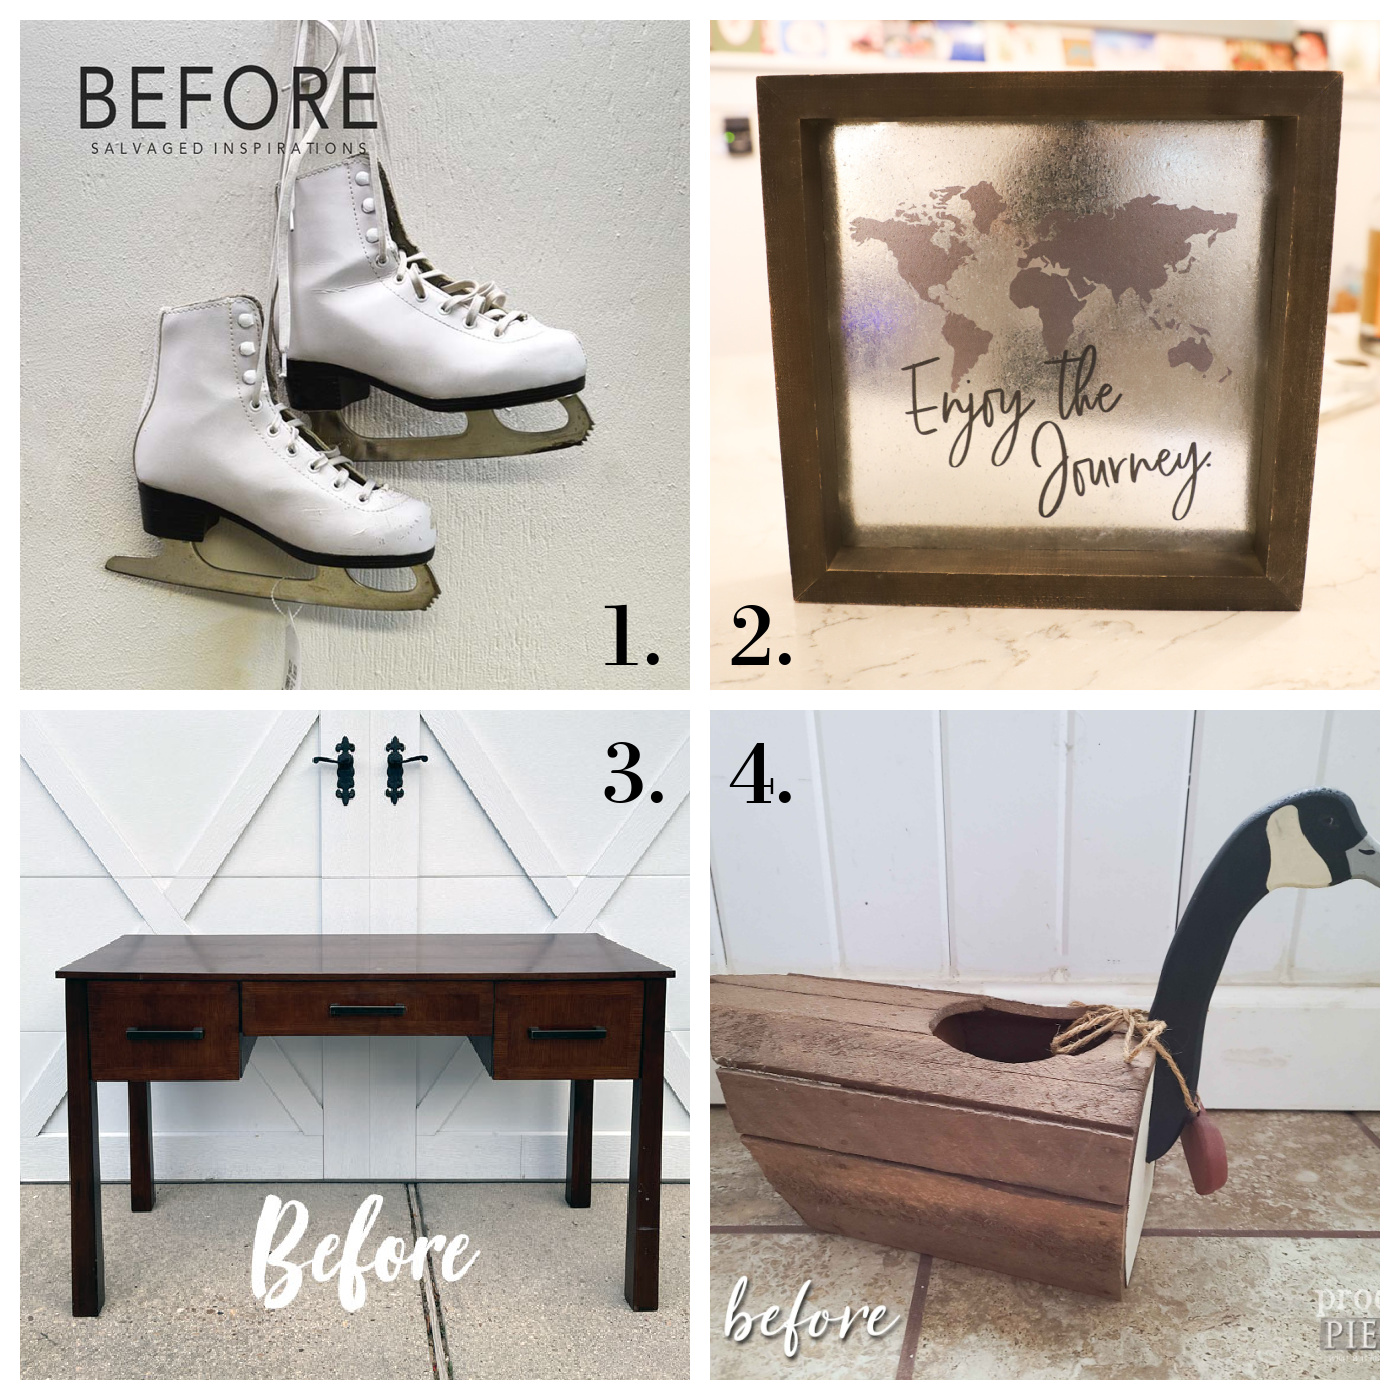 1. Salvaged Inspirations
2. Artsy Chicks Rule
3. Confessions of a Serial DIYer
4. Prodigal Pieces
Need a gift idea? I’ve got you covered! Learn more about my book Amazing Furniture Makeovers and the 25 exclusive step-by-step makeovers inside:


Larissa ~ Prodigal Pieces says
Super sweet and handy too. ❤️
Vicki Bray says
Such a great idea! Clever!
Denise says
Such a sweet idea Jen! 🤗
Christy James says
Super cute, Jen! XOXO
p says
So cute !! I love that shade of red. Definitely festive !!
Nancy @ Artsy Chicks Rule says
So much cuter, and perfect for cards now! xo
Jo Pec says
Creative and adorable.
Cyndel says
Everything about this is lovely, understated perfection. Beautiful!
Sandi Allen says
Very clever! Love it!
Jen, Girl in the Garage says
Thank you so much!!
Jen, Girl in the Garage says
Thank you Sandi! 🙂
Jen, Girl in the Garage says
I appreciate that, thank you Jo!
Jen, Girl in the Garage says
Thanks so much! 🙂