Hi friends! How’s your week going? We had soccer practice #2 for the boys last night and it did not go very well. For some reason their attention spans were like .02 seconds and they quickly wanted to do other things – play on the playground, play with nana’s phone, eat a snack, sit on the blanket… (Sigh.) We’ll try to practice with them at home so they’ll have some idea of what to do during their first game on Saturday- wish us luck!
Today I’m sharing a fabulous bench makeover with you which I originally posted at One Artsy Mama last month for my first contributor project. I hope you like it!
I bought this bench, covered in dust and spiderwebs, at a yard sale about a year ago. I knew I wanted to update the look but I just didn’t know how until a couple weeks ago.
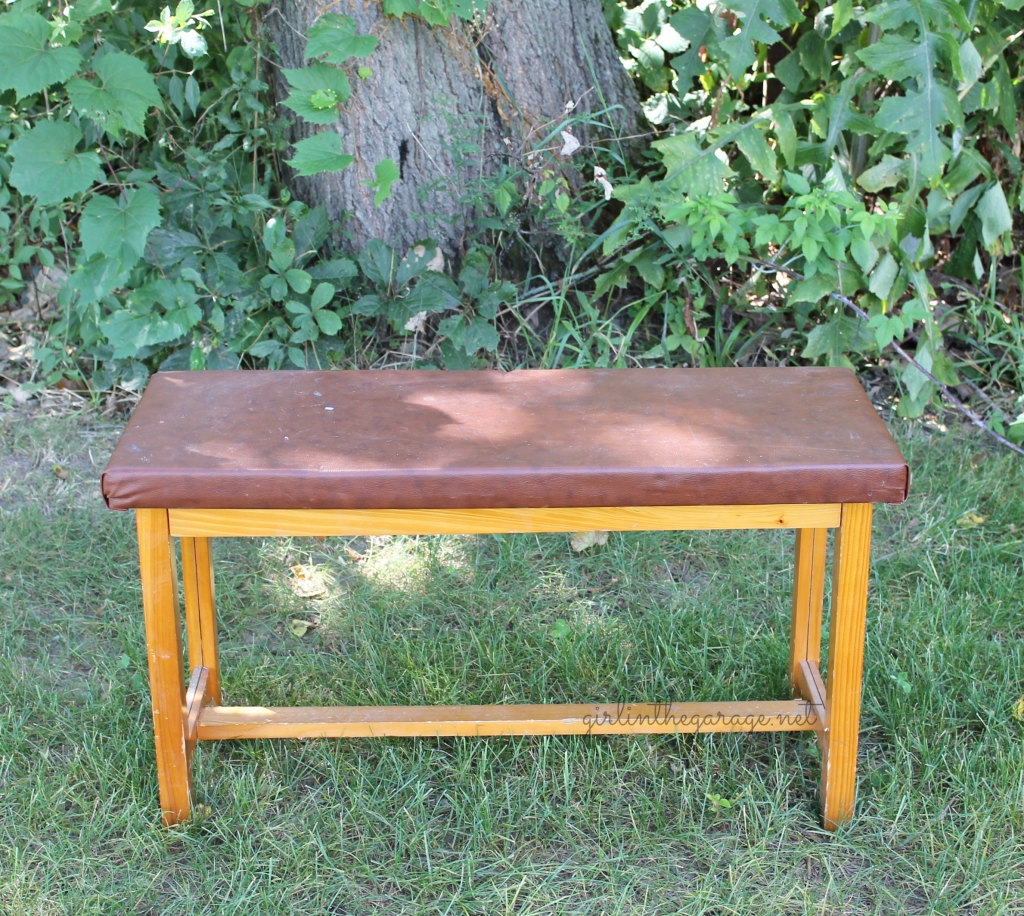
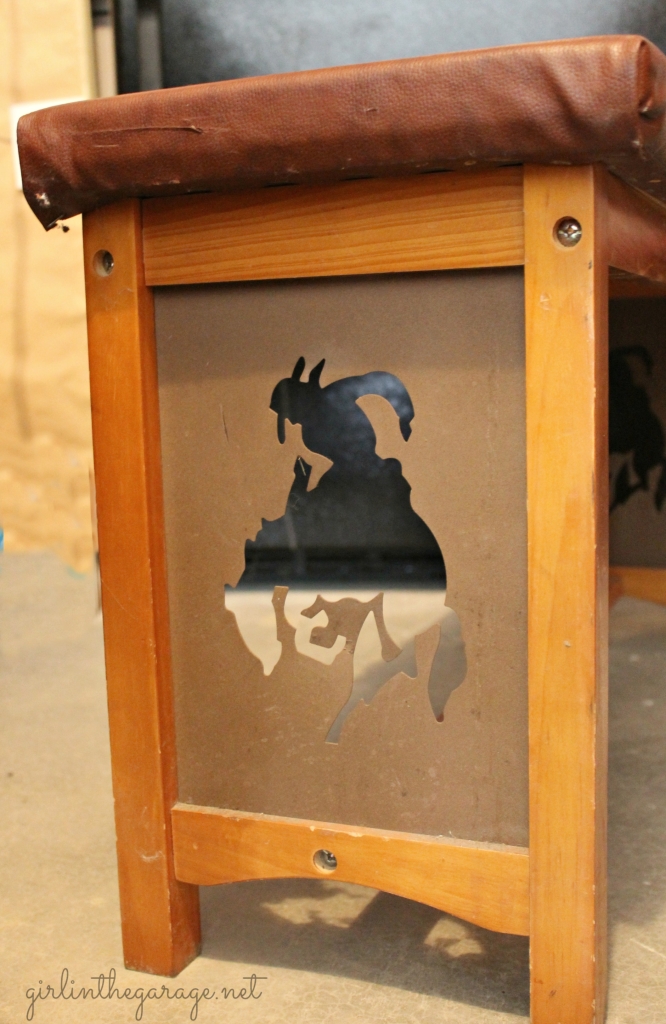
I got excited and started dismantling it before I got a good “before” picture; here are two views and you can tell it was not a pretty sight with the fake leather top, yellow-orange wood, and the metal cowboy cutout panels.
Yee-haw.
First I unscrewed the seat and set it aside to reupholster later. Then I removed the cowboy panels (I saved them though, because part of me thinks I can do something cool with them later).
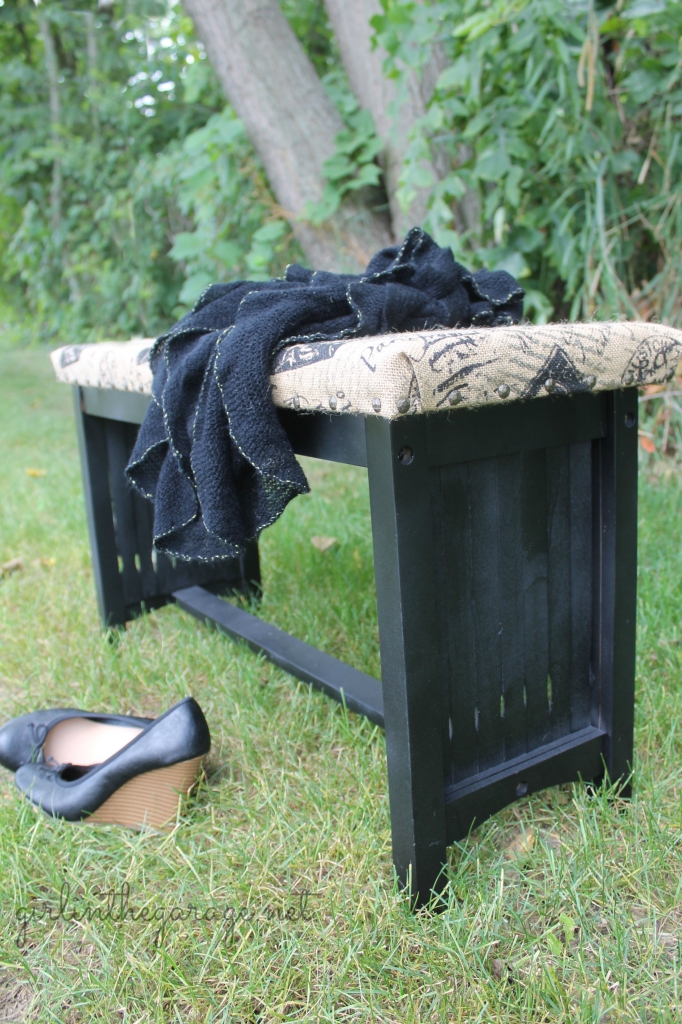
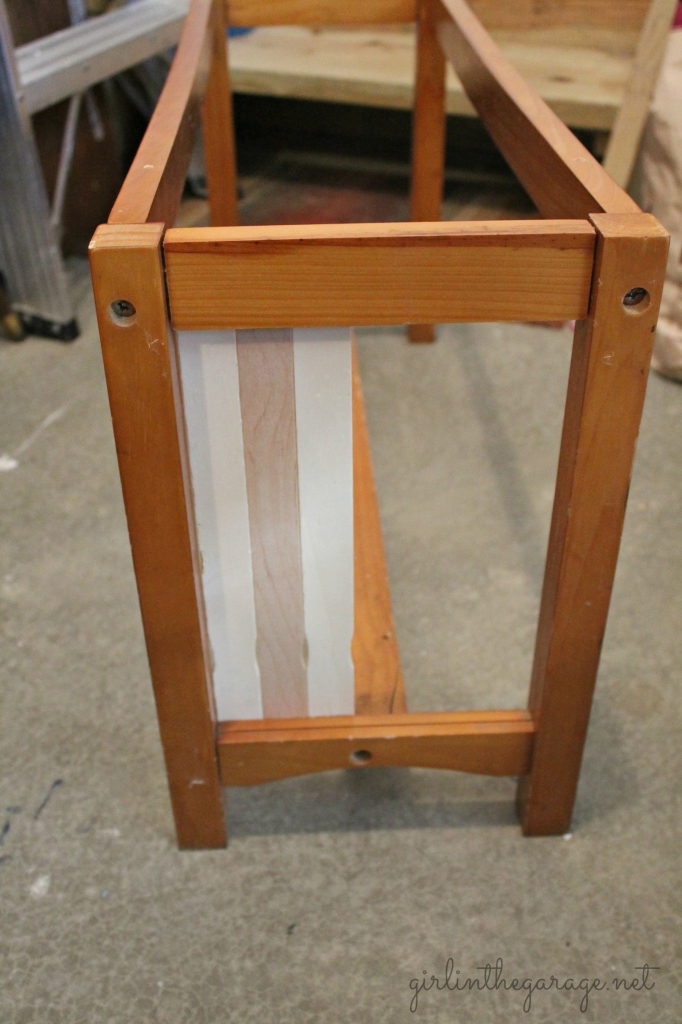
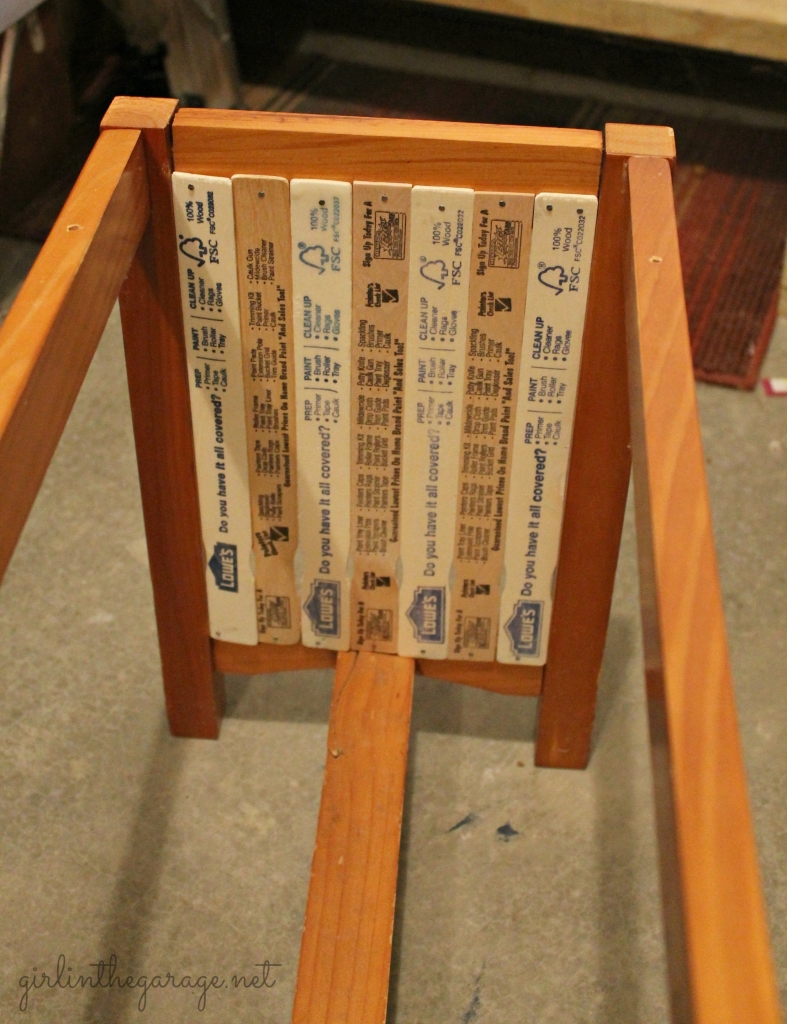
I didn’t want huge open spaces on the sides (for visual interest and for sturdiness) so I had to figure out what to put in there instead… then I remembered the huge collection of unused paint stirrers I had amassed from all the cans of paint I had ever bought – perfect!
I had just enough to fill both spaces; 7 stirrers each. I tapped one little nail into each end and kept the little grooves at the bottom. Here’s a peek from the other side:
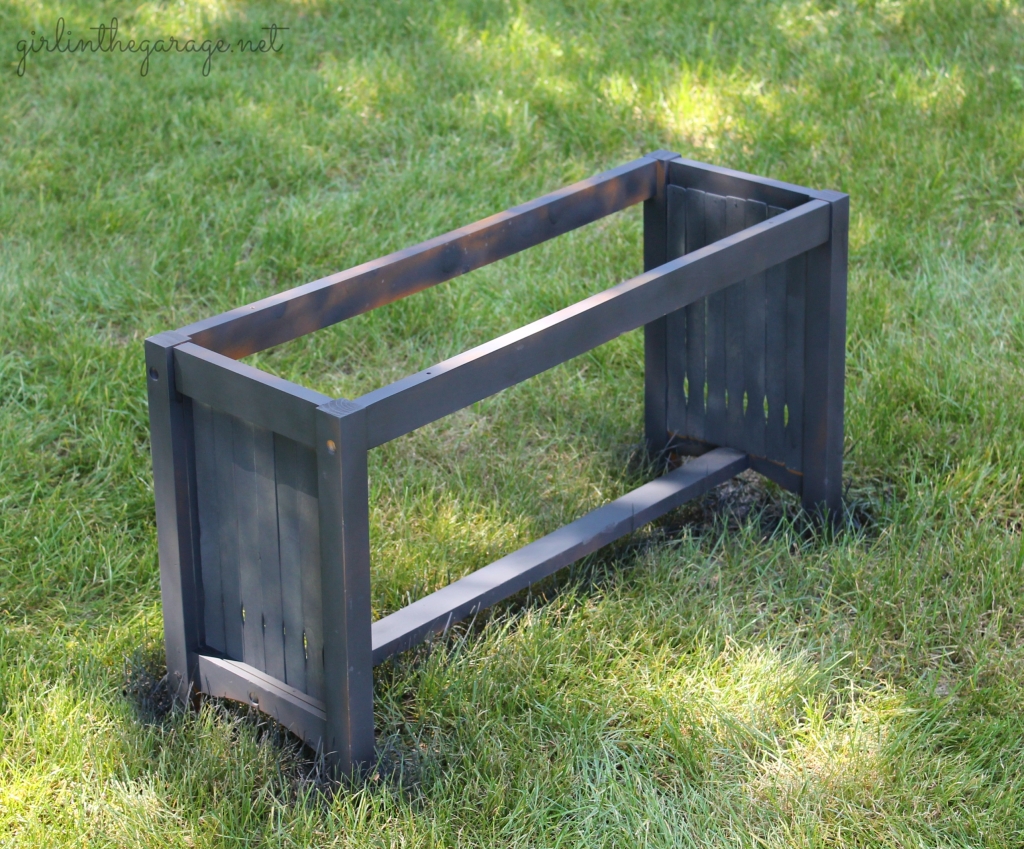
When both ends were finished, I took it outside for some spray painting. Here’s where things didn’t go exactly as planned…
When I bought my seat fabric at the craft store, I wanted to save time so I bought some generic black spray paint there instead of driving to the hardware store. Big mistake. The spray was uneven, the black was more like gray, and I used the entire can and didn’t even spray the whole bench. It actually looked like something that had been in a house fire.
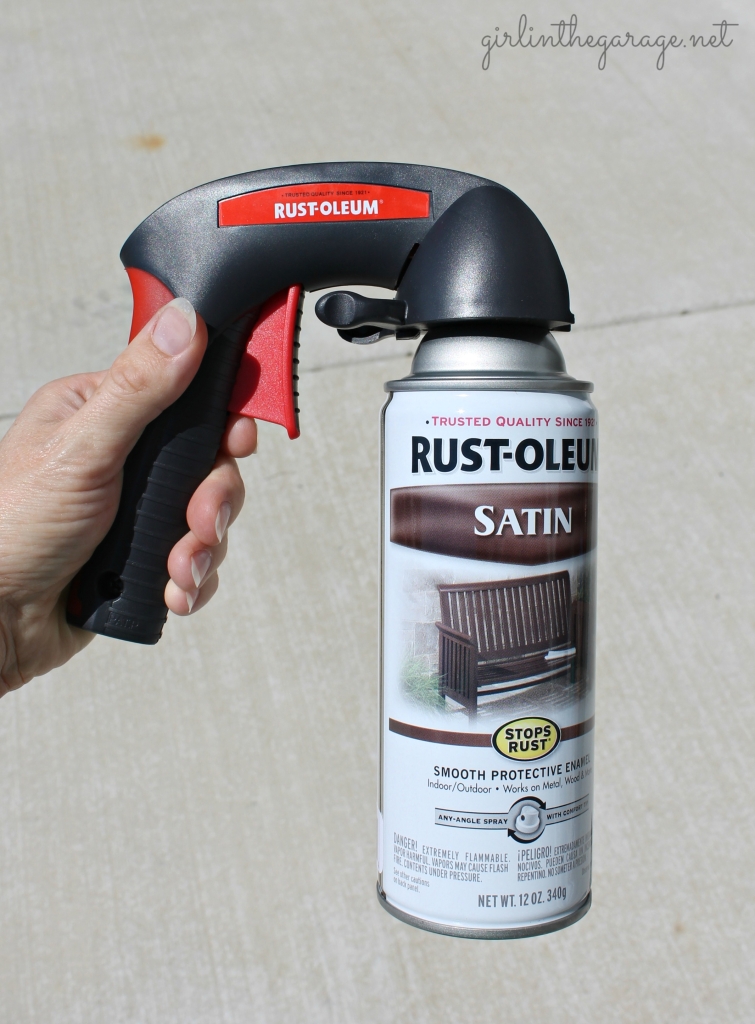
So I learned my lesson and ran over to Lowe’s to buy the good stuff. I also got to test out my new Rustoleum Comfort Grip that I got at Haven recently.
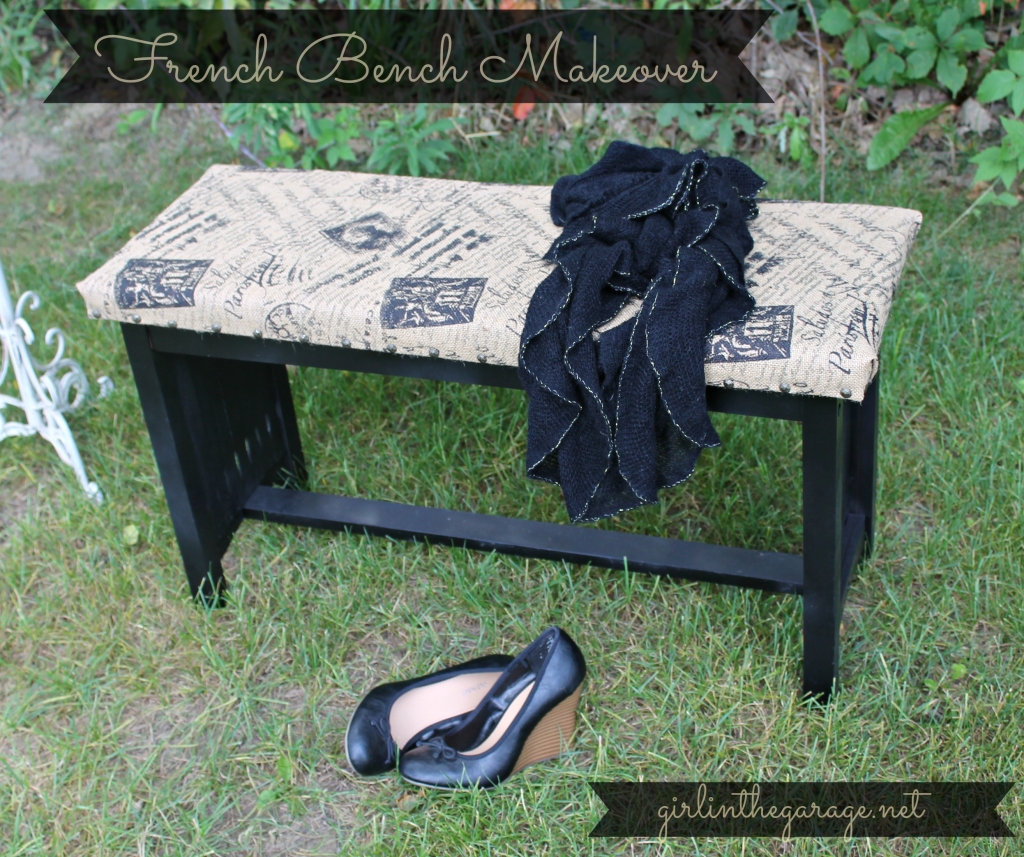
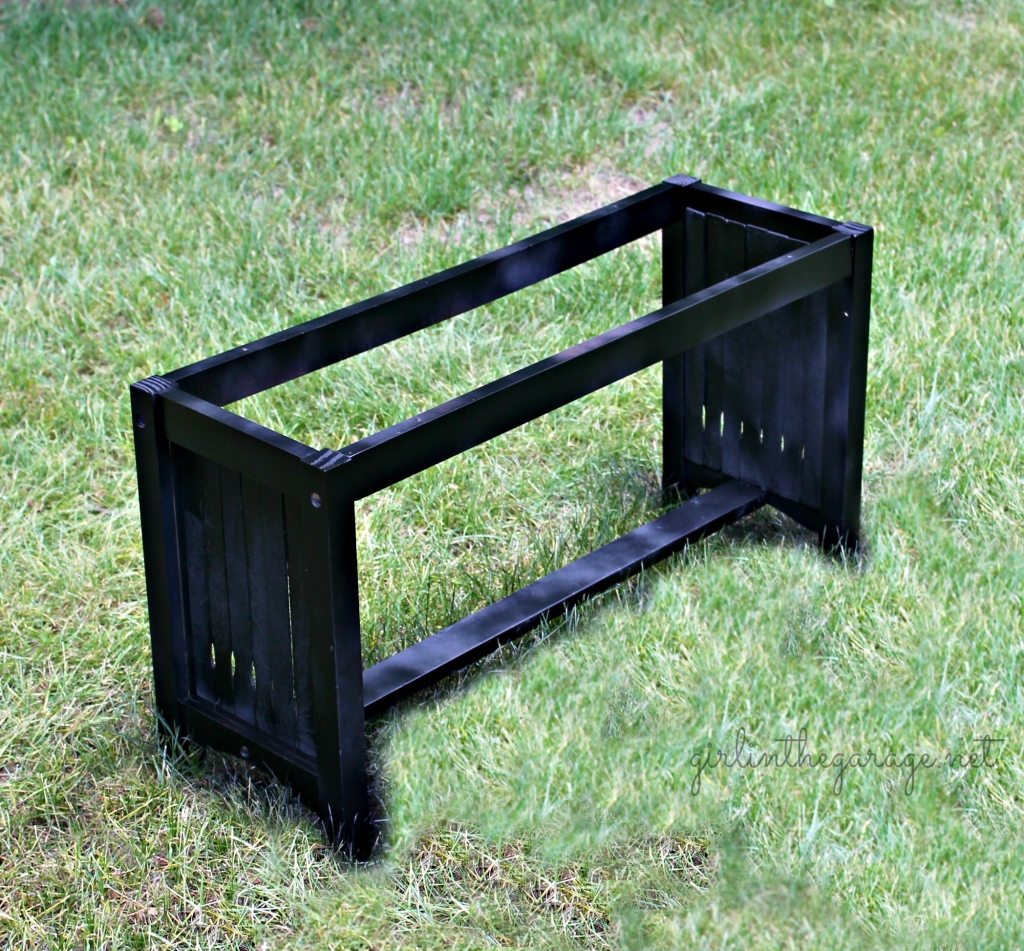
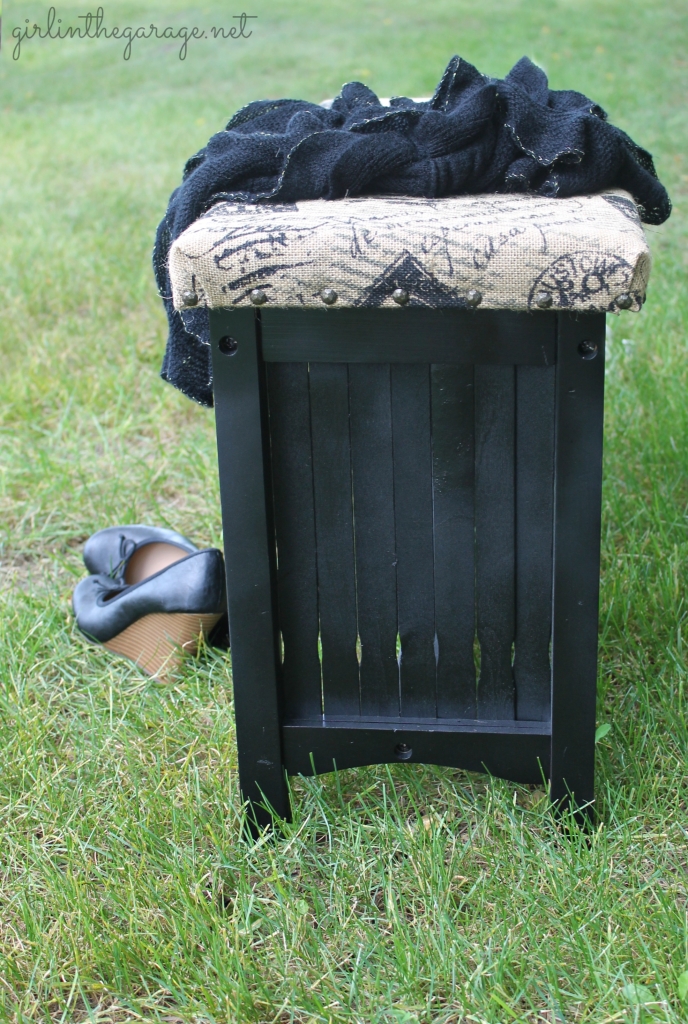
This time went much better and I got a very smooth, black finish. (So did some of my grass!) Then I protected it with Rustoleum Crystal Clear Enamel spray.
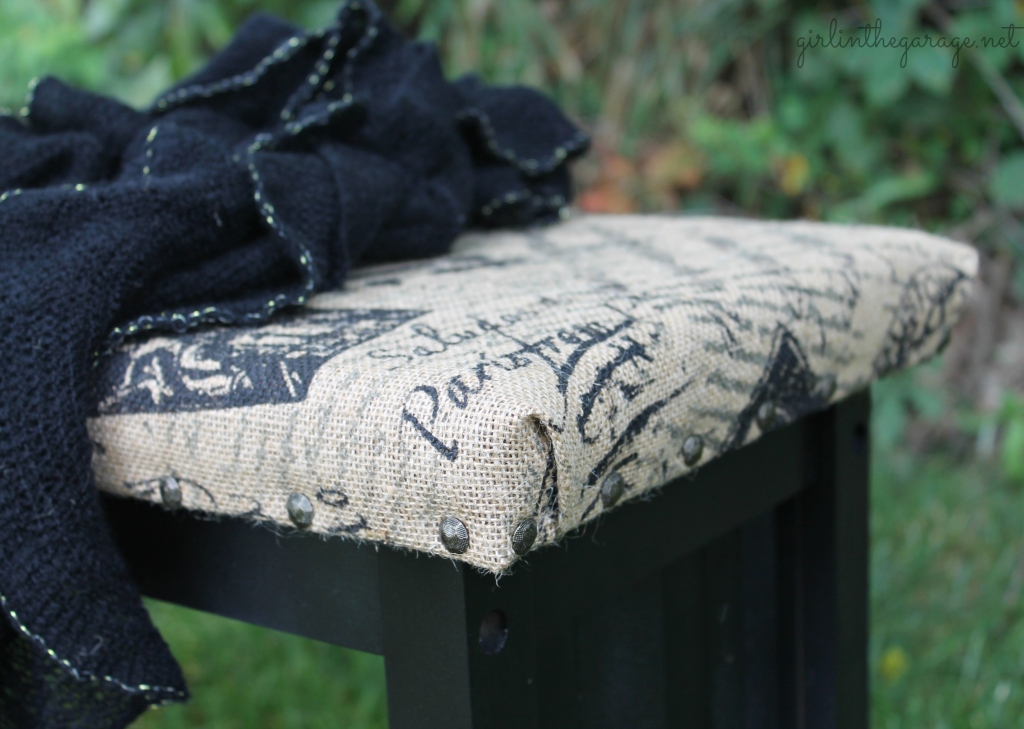
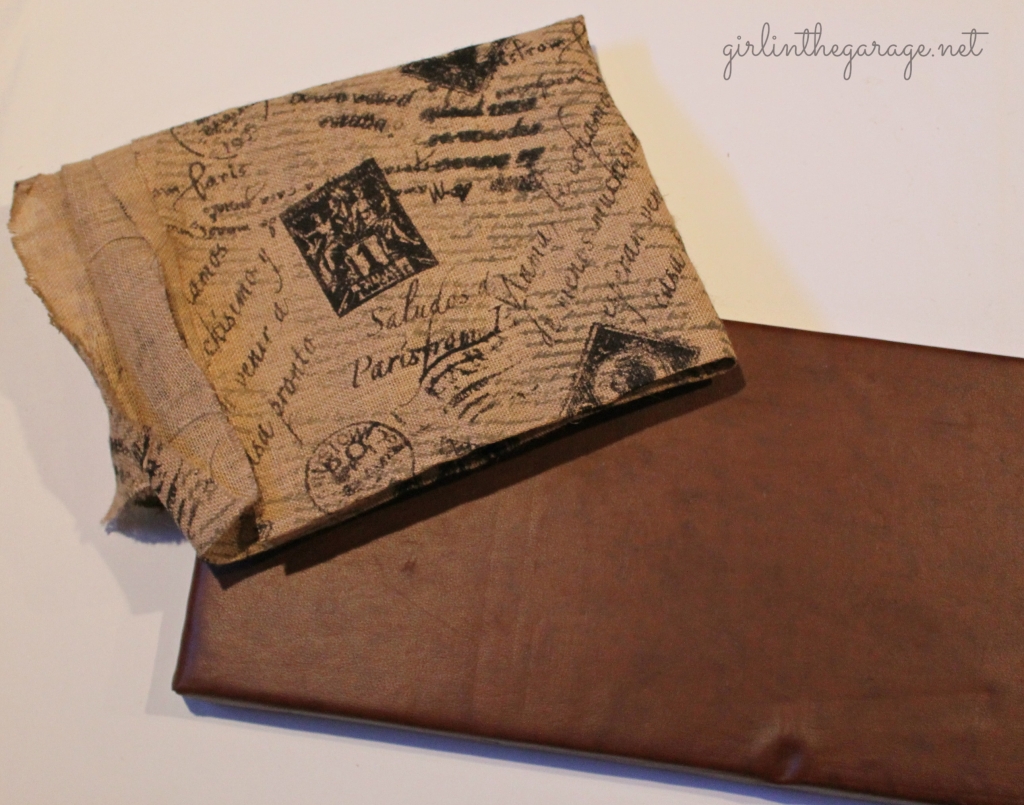
Next up was the seat. I bought some French burlap from Joann’s with a postal theme. I love anything French (and burlap) so it was a win-win for me!
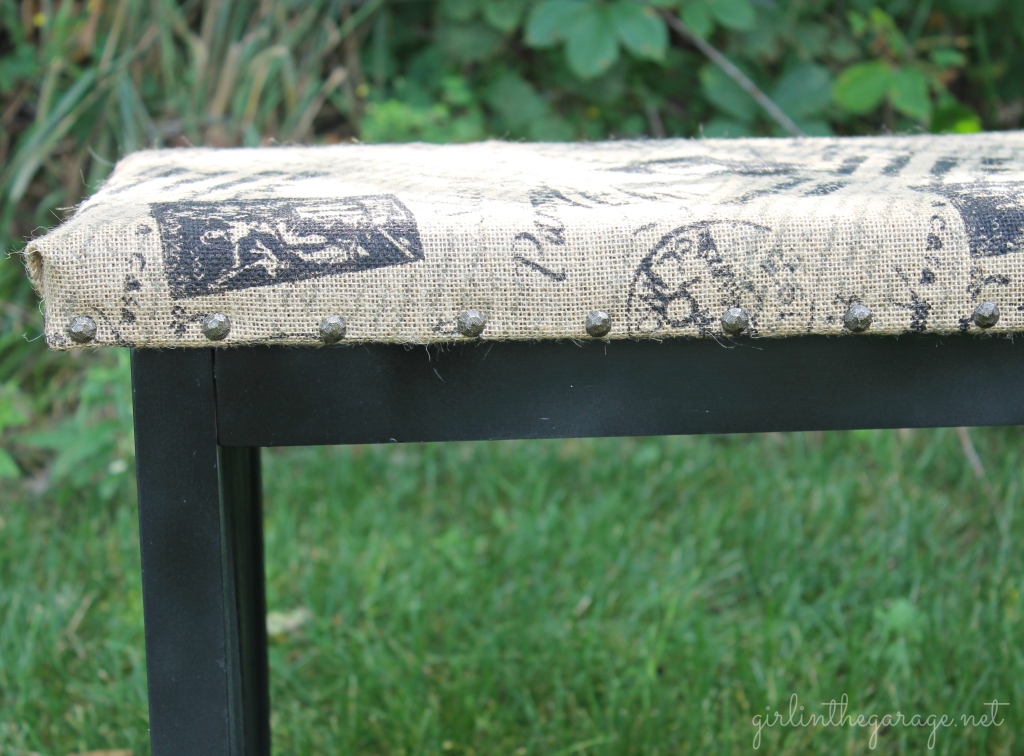
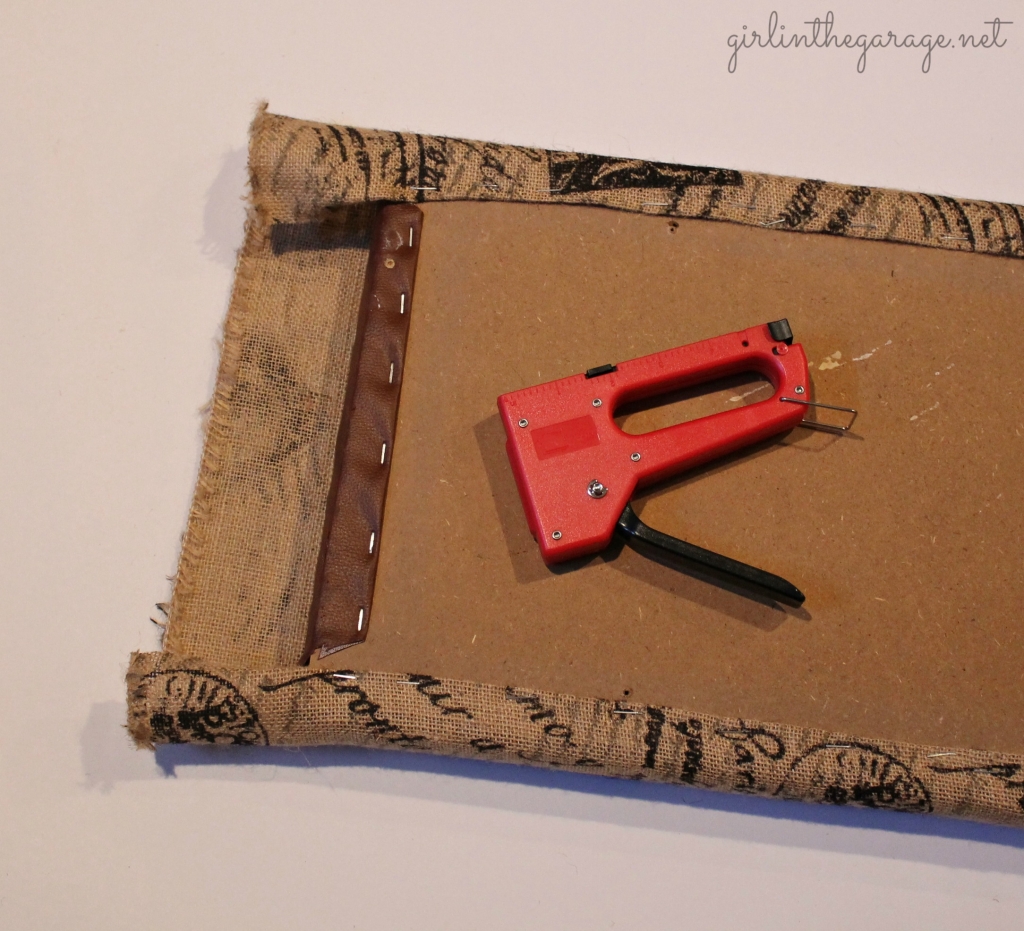
I used my little staple gun from Hobby Lobby to reupholster the seat, making sure to fold the edges to prevent unraveling.
Then I screwed the seat back onto the bench and I could’ve really been finished at that point… but it needed just a little bit more. One decorating item that I love (and use whenever I have the chance) is upholstery tacks. So I hammered a bunch around the bottom of the seat and I think it looks faaaaabulous now.
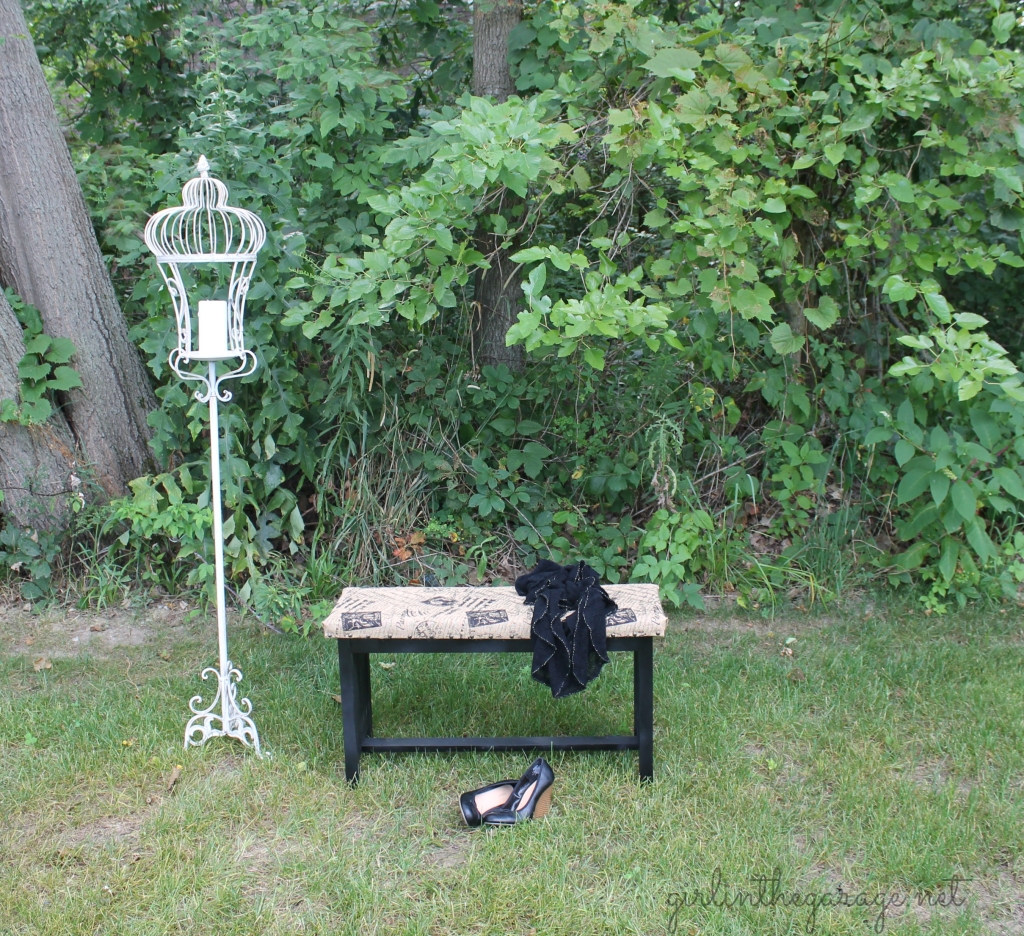
What do you think – do you miss the cowboys? 😉
Jen
Miss any of my recent posts? Catch up here:
Let There Be Lights and a Giveaway (Enter to win a $100 credit to National Builder Supply through 9/6!)
No-Sew Fall Runner and Candle Wraps
Vanity Makeover and Annie Sloan Chalk Paint® Review/Tips
Just one more thing….
I’d like to introduce you to one of my sponsors: Carolyn Smith Designs.
Carolyn is an interior designer with a great eye for home design and decor.
Her blog includes beautiful photos, how-to’s, and lots of inspiration for your home.
Stop by her website to check her out and be sure to tell her I sent you! 🙂
Are you interested in advertising on Girl in the Garage? Click HERE for more info, and use the code FRENCHBENCH to receive 25% off a new or renewed ad spot!



Carolyn Smith says
Thanks for the shout out, Jen! I love the fabric on your bench. Great choice!
Meegan says
Seriously, I can not resist your makeovers! You are so talented, and this french bench is no exception.
Thanks for sharing! Pinned 🙂
Jen says
That’s so sweet! Thanks so much Meegan! 🙂
Cathy says
Using the paint sticks at the ends was genius! Great makeover and good to know that its not worth going cheap when buying spray paint!
Rhonda says
We love what you have done. The paint stirrers are ingenious. You should come party with us tonight! Show off your stuff and start the weekend with a party.
http://obsessiveandcreative.blogspot.com/2013/09/craft-frenzy-friday-3.html
Paula@SweetPea says
Most people definitely would have passed this by at a yard sale. You gave it a new life and it’s now beautiful.
Don’t you love the comfort sprayer??
Jen says
Thanks Paula! I actually almost did pass it by, and even after I got it home I thought to myself “Why did I buy this?!” LOL. Sometimes you just have to wait for the right inspiration! (And yes I love the comfort grip!)
Denyse @ Glitter, Glue & Paint says
Jen, I love your bench and that adorable material!!!