
It’s thrifty makeover day again! You can also find some of my friends’ creative makeovers at the end of this post.
I started off with this thrifted cabinet. It was handmade (but well-made, although the inside wasn’t so pretty).


I brought the cabinet inside right away to start working on it. However I couldn’t decide what to do with it for the life of me! I figured I’d do a stencil or an image transfer and call it a day. Then I couldn’t decide on a color.
First I painted it French Linen but it looked drab on this piece, so I painted over that with Pure White Chalk Paint by Annie Sloan. I went through all my stencils and none seemed right. I was stumped! I had already wasted paint and still didn’t have a clue.
Then BOOM it was like a bolt of lightning and an idea hit me. I kept the white paint and then started taping and adding red paint…

*I’ve included some affiliate links, at no extra charge to you, so you can conveniently find the products I use and like. Discover all my favorite brands and tools for doing DIY makeovers here.
Supplies:
Pure White Chalk Paint
Red latex paint (I already had it, otherwise I wouldn’t have used latex)
Modern Masters gold metallic paint
Purdy paint brush
FrogTape for delicate surfaces (my favorite for painting projects)
Yardstick
This stencil (I only used the crown)
Overhead projector for transferring the “Telephone” graphic (created in PicMonkey and printed onto clear transparency paper)
Sharpies for outlining the letters and black paint for filling in the letters
This project involved a lot of measuring and taping. And I did end up using a stencil and did an image transfer. Mostly I kept referring to an online photo of the famous British phone booth and then adjusted the design to my little cabinet. And here it is…


EEEK! I seriously love how it turned out. Don’t you love when your vision actually comes to life in front of you? I’m so glad I didn’t just paint a random stencil on it and call it a day.

I didn’t take a photo of the inside but I left it all white (and that taped-on paper went into the trash in about .02 seconds).

Me in London, 2013. Read that blog post HERE. The window panes are different here than the one I used for my cabinet inspiration.

Of course I would really love to know what you think of my phone booth cabinet. I know it won’t work in every home but it’s a conversation piece for sure. I’ll be bringing this to the Hunt & Gather market and hopefully someone will have the perfect spot for it in their home (or at least an affinity for British things).
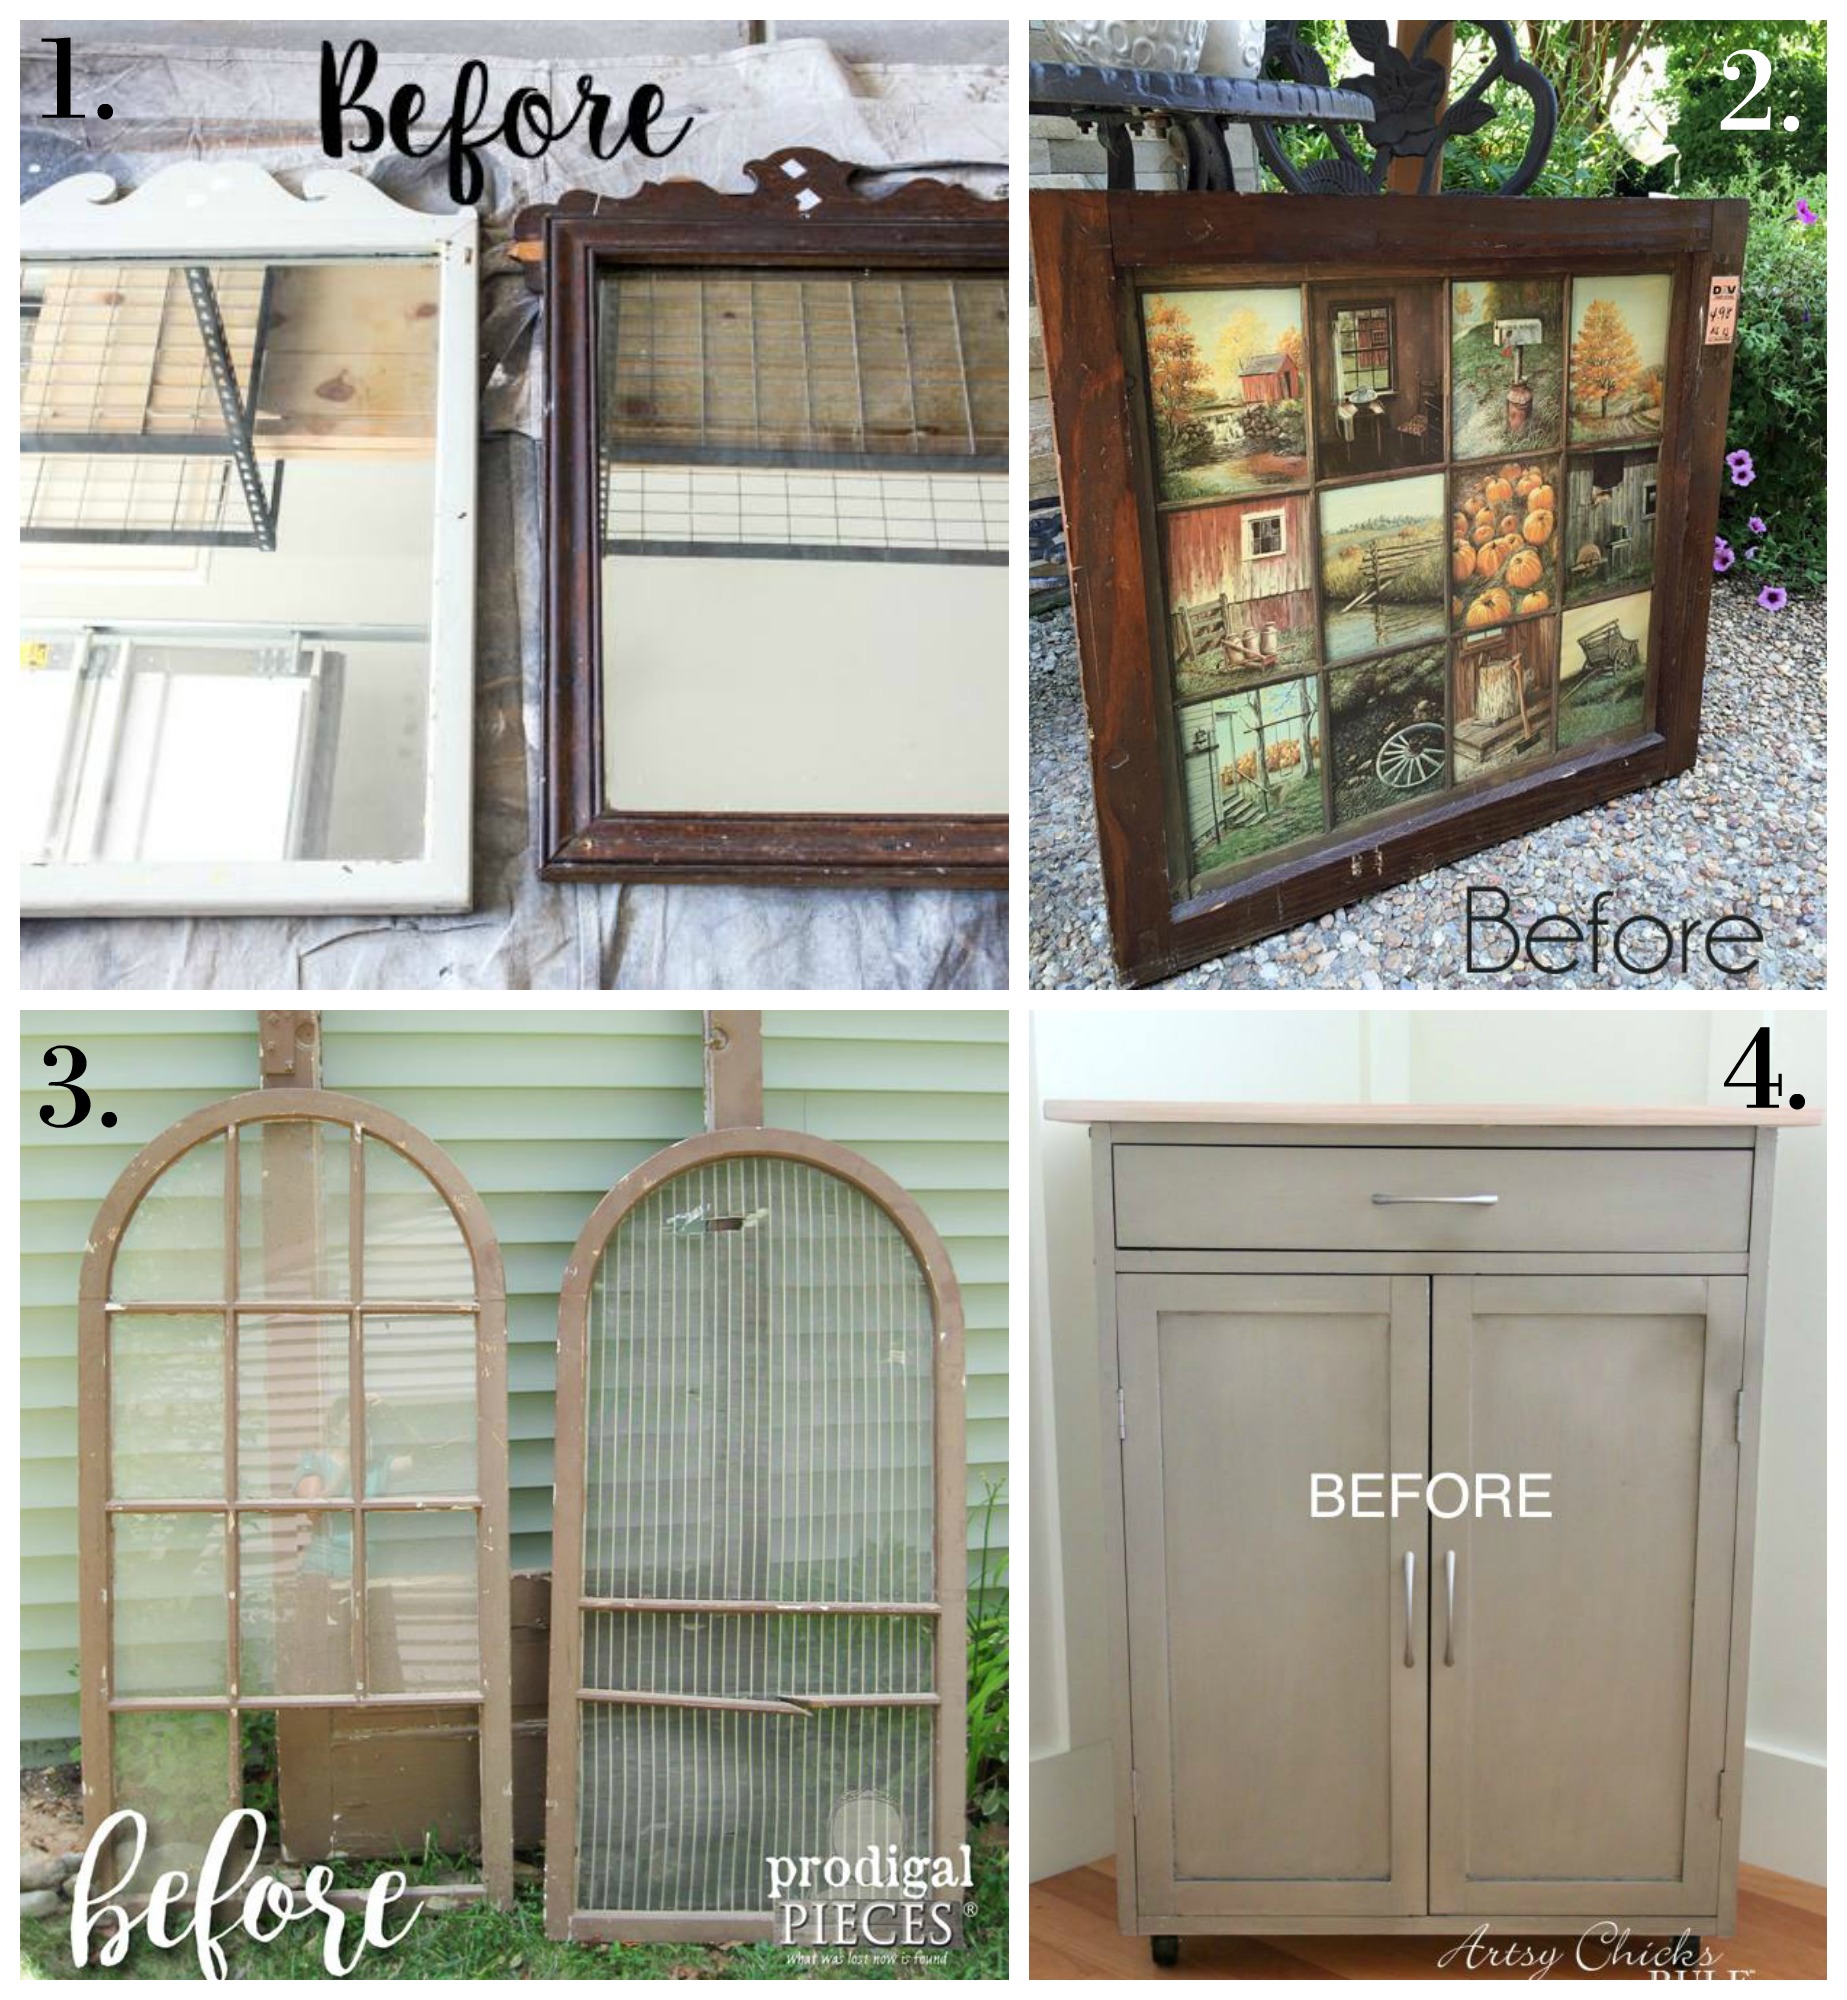
Now my friends have some awesome makeovers to show you too! These are the Before photos – click on the blog names under the image to see the After and the full tutorial.
Have an amazing day, friend! – Jen


Larissa ~ Prodigal Pieces says
Oh my cuteness!! That was a genius idea and it has so much character, Jen! Fun, fun, fun. 😀
Julia says
Love it!! I was in London in 2014 and have decorated my living room with my London photos and now have a growing collection of phone booths. This would be perfect! And I love to paint! I’m so glad I stumbled upon your blog!
Carole says
Awesome idea, I love it!!!!
Vanessa Prohaska says
How lovely! It seems that it was built to be painted like that!
Marcie Lovett says
That has to be the cutest thing I’ve ever seen! What a great idea.
Christy@ Confessions of a Serial Do-it-Yourselfer says
Such a cute piece, Jen! A conversation starter for sure! XO
Nancy @ Artsy Chicks Rule says
Oh my gosh, that is the cutest and most creative thing ever! I love it Jen!!!
xo
Nancy
Paula@SweetPea says
So cute and creative!!
Karen Marie Kedzuch says
Jen,
This transformation is awesome.I know you want to sell it at the market but, what about using this in your playroom filled with books or items from around the world.Your picture in the phone booth in London above. On the wall and a globe placed on a stack of books. They can Learn about the world and your love of London.
Happy Creating ,
Karen Marie
Mari says
That is so neat…..love, love, love it!!! I’m missing that part of the brain that makes one so creative so I really enjoy seeing the creativity in others!
Debbie Farmer says
Very cute. I would love to know what you did with the inside.
Patricia says
I think it looks great and I live in London so would buy it if I could 🙂
Jen says
Thanks Debbie! I mentioned it in the post but it was easy to skip over. 🙂 I didn’t change anything structurally or take any photos of the inside, but I did paint it white.
Jen says
Those are great ideas, Karen! If it sells and I really miss it, I can always paint another one later. 🙂
Jen says
Thanks so much Patricia, that’s a big compliment! xo
Jen says
Thanks so much Nancy! xo
Jen says
Thank you so much, Marcie!
Jen says
Thank you Vanessa – it certainly is the perfect shape! 🙂
Jen says
Thank you Carole! 🙂
Jen says
How wonderful! I have a tiny little phone booth souvenir (and a red bus too) from our trip that I include in my Christmas village each year. 🙂 Thank you for your kind words – and welcome to my blog!
Jen says
Thank you Larissa! This piece was a lot of fun and I honestly haven’t seen one done as a DIY project before 🙂
Marie, The Interior Frugalista says
LOVE it – pinned it!
Jen says
Thank you so much Marie! xo
Janet Schen says
I love the phone booth cabinet! So clever and creative to have thought of that. It’s fabulous!
Jen, Girl in the Garage says
Thank you so much Janet! It was a fun project! 🙂
Jenn Sweeney says
Love this!!!
Marian says
Oh Jen, this is one of the cutest makeovers that I have ever seen. Perfect red and such attention to detail. I love it!
Jen, Girl in the Garage says
Thank you so much, Marian! I really loved this one too – it was hard to say goodbye to! ❤️