
Today I’ll show you how to repurpose thrifted decor – like the framed art below – into 3D chandelier wall art. This idea hit me last week and I think it turned out pretty awesome! You can also find more repurposing ideas at the bottom of this post from my creative blogging buddies.
Plus, there’s also a helpful video included so you can watch the steps in action.

**This post contains some affiliate links so you can easily find the products I use and recommend. Discover all my favorite brands and tools for doing DIY makeovers here.
This was a Kohl’s print that I found at Goodwill. I didn’t love the art inside, but the frame was so pretty! I knew it could be repurposed into something a little more stylish.
Repurposed Decor to DIY Chandelier Wall Art
From the back, cut along the lines where the cardboard backing meets the frame and then remove all the pieces. You might need pliers to pull out any long staples.

Then you’ll need a thin piece of wood to fit inside the back of the frame. (See it on the left below.) Then get your painting supplies ready.

Paint the Thrifted Frame
For this project, I used Annie Sloan Chalk Paint and my favorite Purdy paint brushes. First I brushed a bit of Old Ochre Chalk Paint onto the frame – not completely though, I still wanted some of the original color there for contrast.
Click here to learn all my tips for how to Chalk Paint furniture.

How to Add a Raised Stencil onto Wood
When that dries, you can move onto the next step – the wood panel you cut. (This one is 12×12.) Choose a stencil that will fit nicely on the wood and inside the frame. (I couldn’t find this exact stencil anymore because it’s older, but this chandelier stencil is very similar. Just make sure the cutouts aren’t too tiny or you’ll have a harder time doing this project.)
We’re going to add a raised stencil which will give it texture and makes a 3D effect. I’ve used this technique on furniture before (like this antique painted humidor), but not on decor previously. I was really hoping it would turn out well!
You guys, I had Sia’s song Chandelier playing in my head over and over while working on this project. Ha!

Lay a piece of cardboard down and then lay the stencil face down on it. On the back, spray a light mist of temporary stencil adhesive spray.
I don’t usually use stencil adhesive for regular stenciling, but it’s pretty much a must-have when you’re doing this raised stencil technique. It’s important so that the spackling in the next step doesn’t creep under the stencil and make a big mess.
Then lay the stencil, sticky side down, centered over the piece of wood. Press down to flatten.
There are different products you can use for this technique, and some of them are fancy and expensive. I prefer this inexpensive DAP formula which starts pink and then turns to white when it’s dry. That way you don’t have to keep checking and wondering when you can move onto the next step. Pretty neat, right? You’ll want to use a putty knife to apply the spackling.
P.S. This is the same technique I used on the project I nicknamed “the mermaid nightstand” in my book Amazing Furniture Makeovers.

Lightly apply the spackling in a thin layer over the stencil. If you put too much on, carefully wipe away some of the excess with the knife.
Let it dry for a few minutes and then very carefully peel away the stencil before the spackling is fully dry. You may need to pat some pieces down with your finger to make sure they stay in place.
Below you can see how most of the chandelier has dried but some areas are still pink – especially the few extra dots I added at the top.

When the chandelier is fully dry, very lightly sand over the spackling with 320-grit sandpaper to smooth it out. Some bumps and ridges are okay since you want there to be some interesting texture anyway.
Then paint everything on the wood – I used Pure White Chalk Paint with another Purdy paint brush.

I did 2 coats and let it dry, then gently sanded again.

For more contrast: Paint over the stenciled chandelier with black paint first, then paint the entire piece of wood with white paint, and then when you lightly sand after, some of the black paint will show through from underneath.
Next, apply strong glue all around the back edge of the frame.

Set your raised stencil chandelier face down inside the frame and let it dry for several hours.

Finally, I decided to add some subtle metallic paint to the chandelier so it shimmers in the light, and gives a little extra contrast to the white painted board. I used Modern Masters Oyster with a small artist’s brush.

After drying again, it was finally finished…
Here’s the (3D) DIY chandelier wall art with raised stencil:

I’m often drawn to neutrals but I really love texture and subtle details – I’m really pleased with how it turned out.

There is a soft metallic shimmer on the chandelier but unfortunately it didn’t show up well in these photos.

It seems really vintage French style to me – which I adore! (See more DIY vintage French decor ideas here.)

Please feel free to share this chandelier wall art project with a friend or Pin it to easily find it again later.

I’d love to know your thoughts! Have you tried a raised stencil technique on furniture or decor yet? – Jen
Now it’s time for more thrifty makeovers from my friends. Below are the Before photos – visit the links underneath to see the amazing Afters and to learn how they did it.
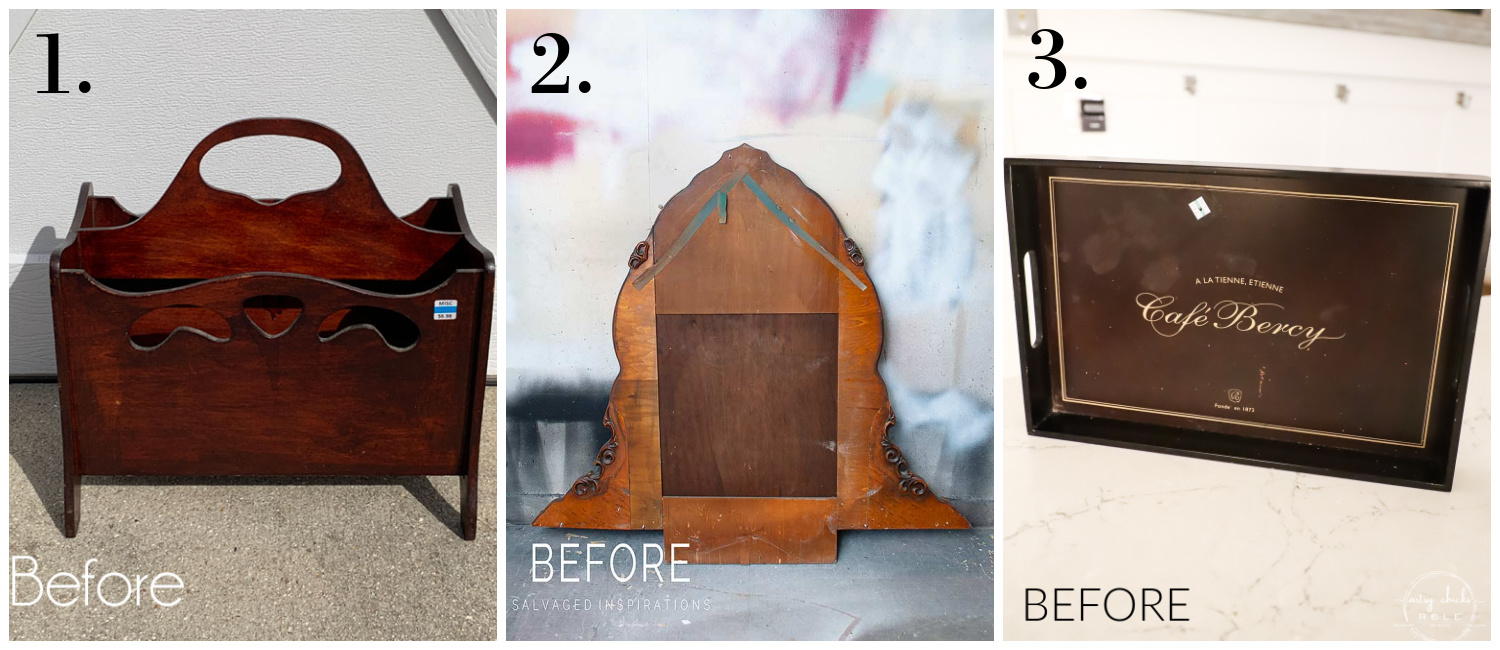
1. Confessions of a Serial DIYer
2. Salvaged Inspirations
3. Artsy Chicks Rule
You might also like this post: 13 Repurposing Ideas for Home Decor


Denise - salvagedinspirations.com says
I love the raised texture… and Sia too! 🤗 Super cute my friend! XOXO
Jen, Girl in the Garage says
Thanks so much Denise! ❤️
Lizzy says
It’s so subtle and pretty. What a great project!
Bev says
Oh wow. I have exact same humidor. I thought it was for an old phone! Painted it the same color as yours but kept the original knob. What fun!! May do the stencil technique also now that I’ve seen that!
Nancy @ Artsy Chicks Rule says
That turned out so pretty, Jen! ❤️
Jen, Girl in the Garage says
Haha, that’s so funny Bev! Great minds 😉
Jen, Girl in the Garage says
Thank you Lizzy! You’re so kind. 🙂
Jen, Girl in the Garage says
Thanks so much, Nancy! xo
Becky says
How cool! I really want to try this technique. I’d been thinking furniture, and putting it off, but art…?!? I can to that!
Jen, Girl in the Garage says
I’m so glad you like it, Becky! 🙂
Christie says
This is exactly how I do raised stencils, all the way down to the spray adhesive and the exact brand of Spackle! I’ve found that paint erasers are perfect for tapping down any areas of Spackle that come up and for making extra dots or designs. They maneuver the Spackle without it sticking to them.
I love the frame and chandelier!
Jen, Girl in the Garage says
What a coincidence! Thanks Christie! 🙂