

Hi everyone! I’m Shanna from Restoration Redoux.

I’ve known Jen for several years now and I’m super excited to come for a visit while she’s spending some time snuggling that sweet little baby! My blog, like Jen’s is full of furniture makeovers, crafts, and home decor. For this next project I stepped out of the box a bit.
My hubby and I have our defined roles as far as working on projects. I do the pretty stuff, and he does the stuff that could possibly maim you for life. Over the past year, I have been creeping little bits at a time over to Topher’s side. Learning how to use a drill, a nail gun, etc.
The one place I hadn’t ventured over to was using saws. Now this is where one could really get hurt. I watch have watched Grey’s Anatomy for years and lots of bad things (like losing a finger) can happen when people use saws. And I like my fingers.
I have seen so many other bloggers out there build things from scratch, and I knew that they must feel so proud of themselves for accomplishing something like that. So I decided to go for it.
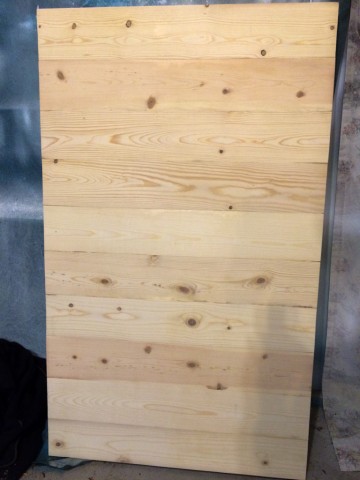
We have had this glass coffee table for years, and I hated it almost immediately when we got it in the door. Do you know how many times a day I would have to clean that sucker? Constantly. Plus, the corners stick out — right at shin level!
So I decided to build a new one.
My dream coffee table would be this one from Restoration Hardware.

The one little problem is that it is $1053. Eeek!
I found this Restoration Hardware Knockoff table on The House of Wood. Not only is Jen ridiculously cute, she is also a talented musician AND a DIY rockstar. I know … life’s not fair folks.
Jen got her inspiration for the table from the talented Ana White, and you can go here to get your supply list. Osborne Wood did send me the amazing legs. They were less than $30 per leg, and since my very basic woodworking skills definitely weren’t going to produce beauties like these, it was a perfect solution.
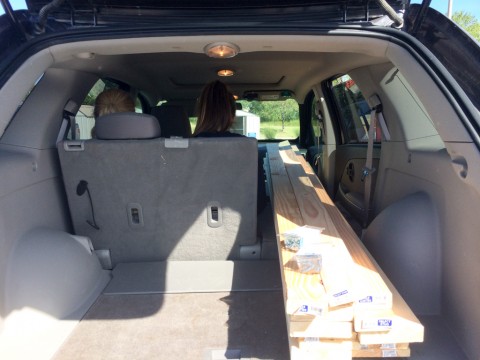
The first thing I did was to head to Lowe’s to buy my supplies. We had to get creative to get 8′ boards into a small SUV.
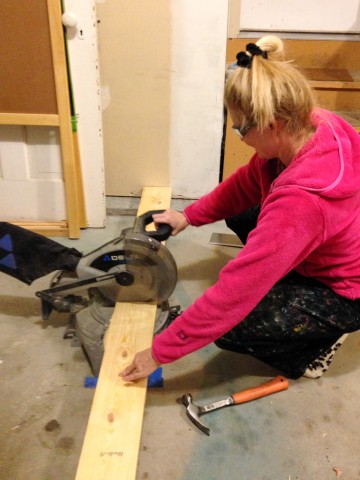
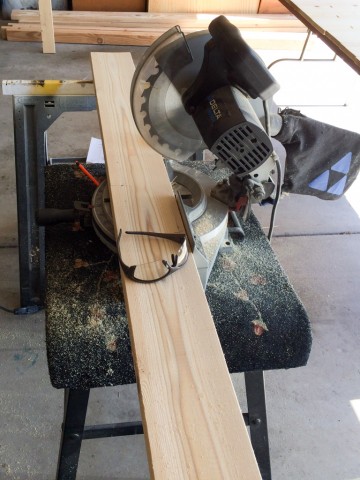
We decided to tackle the bottom section first. We started by marking our 1×6 boards to length and cutting them with a miter saw.
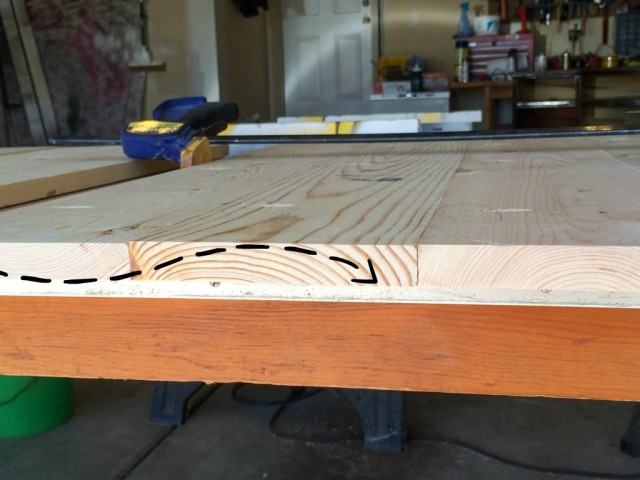
Once I had them cut down, I laid them out in the order I wanted. When doing this, you have to make certain your grain is alternating up / down / up / down / etc.
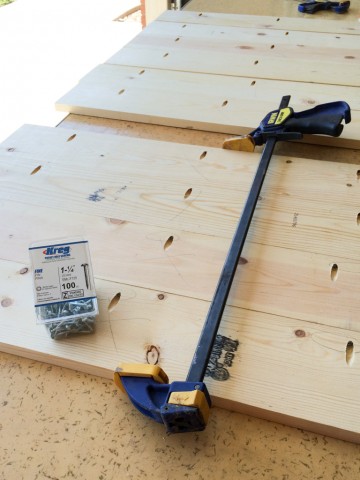
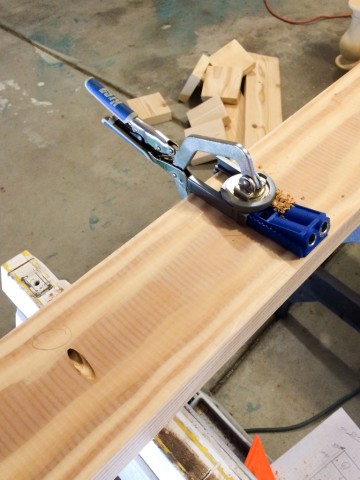
When I finally had the boards how I wanted them, we pulled-out my Kreg pocket hole jig and started-in drilling pocket holes to help secure the boards together.
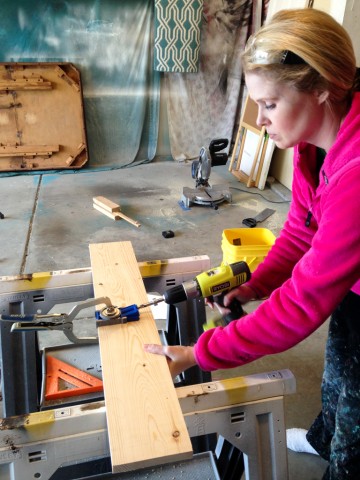
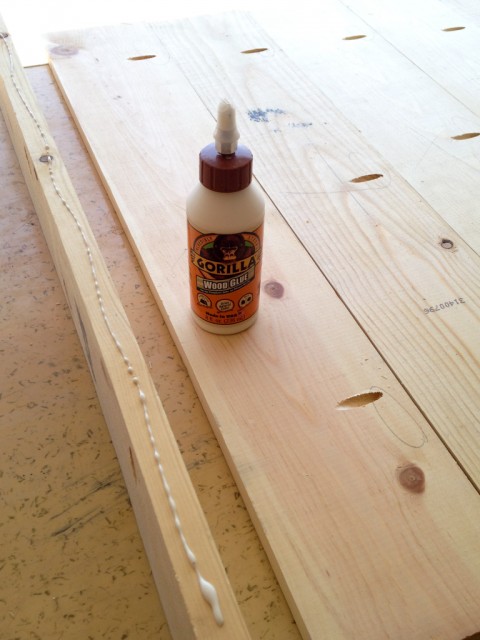
To secure the boards together, we applied Gorilla Glue wood glue, lined them up, and screwed the pieces together through the new pocket holes, clamping as we went.
When all the 1×6 boards were together, we added the 2×4’s along the bottom for support. These, we attached with wood glue and screws through the bottom.
Once that was all complete, I sanded it down to smooth out the rough spots.
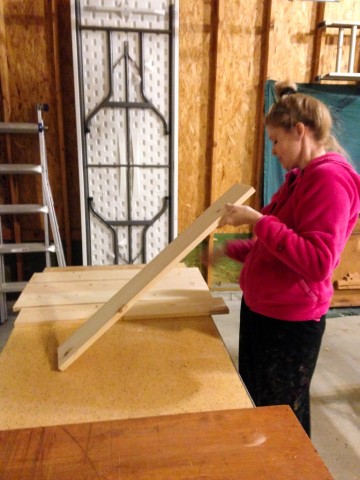
For the top, we used similar steps for the 2×6 boards, but the lengths were different because of the orientation, so we cut them down, using my miter saw, per the plans I mentioned above.
Once all the 2×6’s were cut, we drilled our pocket holes and secured them together with glue and screws.
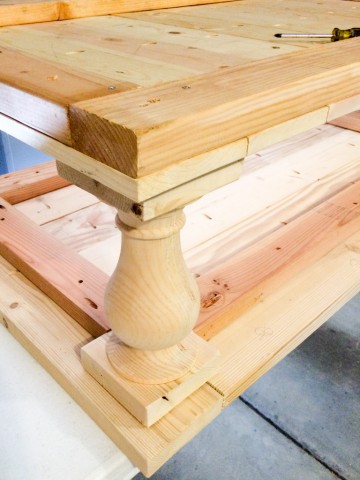
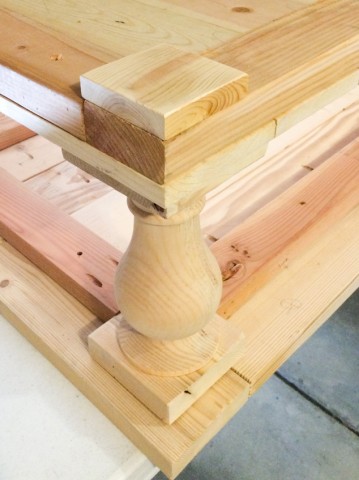
For these beautiful legs, from Osborne Wood, we attached 2×6 squares using glue and long screws. The only thing to really watch here is to make sure you line up the top and bottom squares so they’re “going the same direction.”

Then we attached the legs to the bottom shelf using long screws through the bottom (so they aren’t visible).
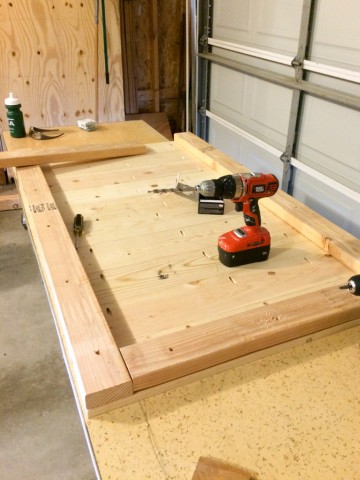
Since the table is upside down in the photo below, you can also see the bottom side of the top. We’ve used pocket screws and glue to create a support frame for the top piece, but at this point it’s all screwed together as a rectangle (including the legs), but isn’t attached to the underneath side of the top yet.
While the table is upside down, we also cut and secured 1×4 square pieces to the corners for feet.
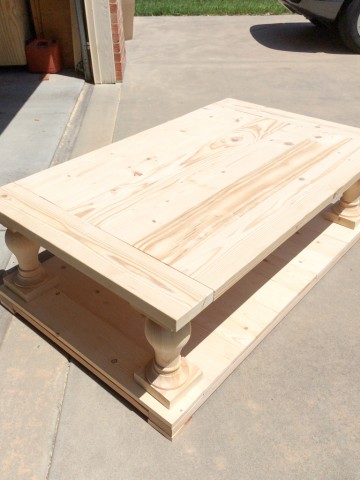
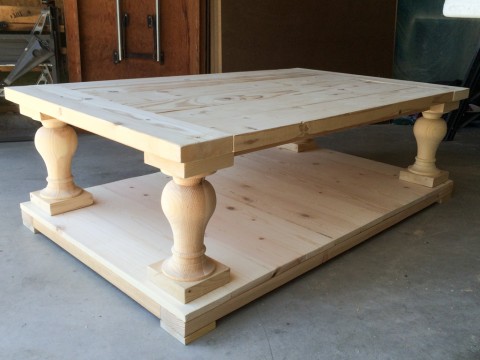
Then we attached the support to the underneath side of the top, flipped it over, and checked out the table I made…
Next, we applied a coat of Minwax Special Walnut stain.

And then we applied another coat of stain, but used Minwax’s Classic Grey.
Once it dried, we brought it inside and replaced that glass one with this Shanna Original (well sort of original).
So here’s the finished project my friends! Can’t believe I built my own Restoration Hardware DIY Coffee Table!
Restoration Hardware’s Balustrade Coffee Table $1053. My coffee table cost a whopping $82.


I’m trying to decided whether I should leave it as is, or lightly white wash it. What do you think?
Thanks so much for letting me come visit your lovely readers, Jen! To see more of my furniture projects click here!
I would love to have you visit me too at the links down below!
Facebook/Instagram/Pinterest/Twitter


Jolinda lampo says
To say I am impressed would be an understatement. You did a beautiful job. Good for you taking on something different.
Amanda W says
Your coffee table turned out great! I am redoing a yard sale coffee table and I think I will try these two stains. I didn’t see it mentioned, but do you use a wax or poly seal of any kind? This will be my first try and this kind of thing so I am open to any advice 🙂
Tricia says
what is the finished tabletop dimensions?
Jen says
Tricia, this is not my project, it was a guest post two years ago. You can contact the original writer (contact information is within the blog post) for specific details. Thank you.